For Camp this year, we are making dreidels with the kids in our Jerusalem-themed marketplace!
It's so much fun; I remember making these when I was their age!
To make these stamps, we hand-sawed blocks of wood about a half-an-inch to an inch thick. (I can't remember the size, but just find a nice wooden block about the size you would like your stamp to be!) Of course, we sanded down the sides and edges, either with a piece of sand papers, or one of those sanding machines that my dad has.
We used wood glue to attached small drawer handles to the back of the blocks. I did this in the afternoon, and it was good and solid by the morning, so it doesn't take too long to dry. I have no idea where my dad got the handles, but they're cute and I'm sure you can find them at Michael's.
I wanted to leave the stamps with the nice wood color, but in the hands of little kids, that ink really stains the wood deep, so this year, I spray painted them all black. I love black because it won't be changed at all by ink.
The rest is really easy; draw your design onto a piece of foam (make sure it fits onto your stamp!) and then cut it out and glue it on. Don't fret about it having to go on upside down, or drawing it backwards; just be sure, after you draw and cut out your stamp, that you glue the side with the drawing lines still on it to the wooden block.
I loved this project! I even painted the stamp's image on top of the handle, as a cute touch! And it doesn't cost more than a few bucks.
If you have any tips or ways to improve this, comment below! ♥
Tuesday, July 24, 2012

Thursday, July 12, 2012
T-Shirt Project
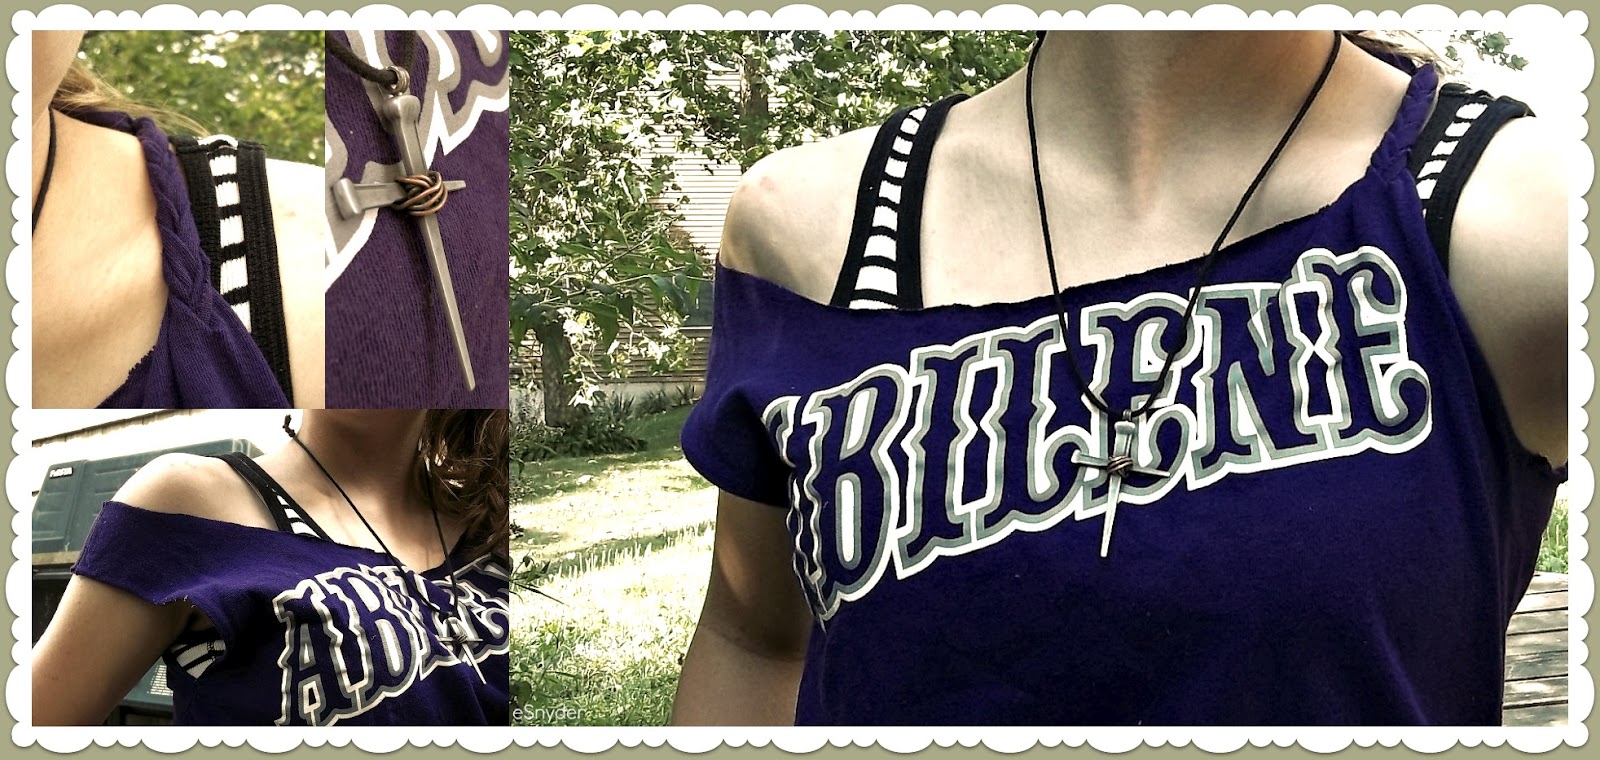
This was a fun little project I did with an old T-Shirt I never wore.
I put on the shirt and put a tank top on top of it, then traced the tank top line with a piece of chalk. (I made the straps a little wider than the tank top's) Then I cut the shirt along the lines in the front and back.
This makes a decent cut top. I could have left it that way, but I decided to keep testing ideas.
Taking the left sleeve, I cut along the seam at the top. (You can cut it further back for a longer braid)
Cut the length of the sleeve into three strips, and then braid them to the end. Then sew the end of the braid to the strap left on the back. I bunched up the strap and sewed further down the back so that it would pull the shirt up on that side.
I didn't like how open the other side was, so I also sewed the hole up a bit at the bottom.
Now I love the way the shirt turned out!
You could try the braid on both sides, or make the thick side a little thinner and keep it from falling off your shoulder.
(Neat trick, if you don't want your straps showing, use a small safety pin to secure them under a tank top.)
Wednesday, June 6, 2012
Orange Bows
It's the end of the year, so tomorrow, the upcoming 6th graders in our school are being assigned to Houses. If you've been following, earlier I posted Elliot's House crest (Go Orange!).
Well, they are letting us wear house colors, so I decided I want to wear an orange bow.
Problem is I don't have one. But I have orange cloth, so of course I decided to make one.
Since I've never done this before, I found a really nice video to make it. Just follow all of the steps and it should turn out fine! The only thing I changed is that I folded over the longer edges of the cloth inward so that I didn't have a frayed edge along the side of my bow. I had difficulties holding the edge in the whole time, but once it's sewed in place, it's not as hard. I don't usually mess with cloth.
(Yes, the first time it took me a half an hour with a bad needle, but it gets easier the more you do it.)
To put it in my hair I slid a bobby pin through the back of the center loop, and it held up pretty fine. I also suggest sewing over hot glue, because it holds longer, unless you want a quick project or have no needles.
Here is my Bow:

So cute!
I really enjoyed making it, and I'm considering making ones for all the girls in my House next year.
Girl power!
(Update 9/2/12)
I've finished nearly all of the bows for the girls in my class! I also made magnets to go with them for their lockers! (The small bow can be cut 2"x5" or adjust as you wish.)

(Update 9/2/12)
I've finished nearly all of the bows for the girls in my class! I also made magnets to go with them for their lockers! (The small bow can be cut 2"x5" or adjust as you wish.)

 |
| Magnets Print |
Monday, April 23, 2012


Saturday, December 10, 2011
T- Shirt Designs
This is only a sketch, but here is a T-shirt design I drew up.
The top is the front, the bottom is the back.
The bird on the front and the middle cross on the back would be yellow, while the other two crosses would be red. And the shirt is black.


The top is the front, the bottom is the back.
The bird on the front and the middle cross on the back would be yellow, while the other two crosses would be red. And the shirt is black.


Tuesday, October 18, 2011
Shoe Logo
The other week, a good friend of mine asked me if I would design a logo for him. He wanted it to be a design he might put on a pair of basketball shoes to sell, like the one for the John Wall basketball shoes:
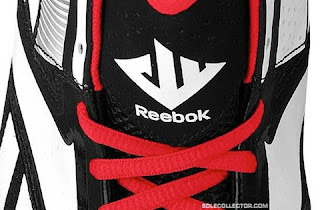
If you can see, the logo is a combination of a "J" "W" and "11".
So I set my pencil and paper to work to draw up something similar, and this is what I came up with with his initials and number of choice: BW27.
IN BLUE!

IN ORANGE!

(If you can't tell, this is where I incorporated the 27:)
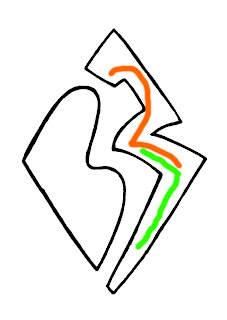
(This design belongs to myself and B.W. and no one else may use this without written consent.
I'm getting 20% of his profits from this, if he does something with it. (: )
Saturday, October 15, 2011
Youth Group Logo
Our Youth Group has been discussing making some changes this year. One thing we have considered is having a logo to use for things such as T-shirts. I took some time to draw up some ideas, and I mostly focused on a "new creation" concept from 2 Corinthians 5:17. I considered drawing a shoot with some roots, roots showing our growth being deep, but this design looks even better.
[In case the image isn't loading, it is a shoot with three leaves (Trinity concept!) with a shadow as a cross. ]

Subscribe to:
Posts (Atom)